How to Build a( nother) Plyometric Box
What You Need to Know
Cost: $26 (building 3/4 ply).
Time: 0-1 hours.
Difficulty: Tool (Block off a portion of your Saturday).
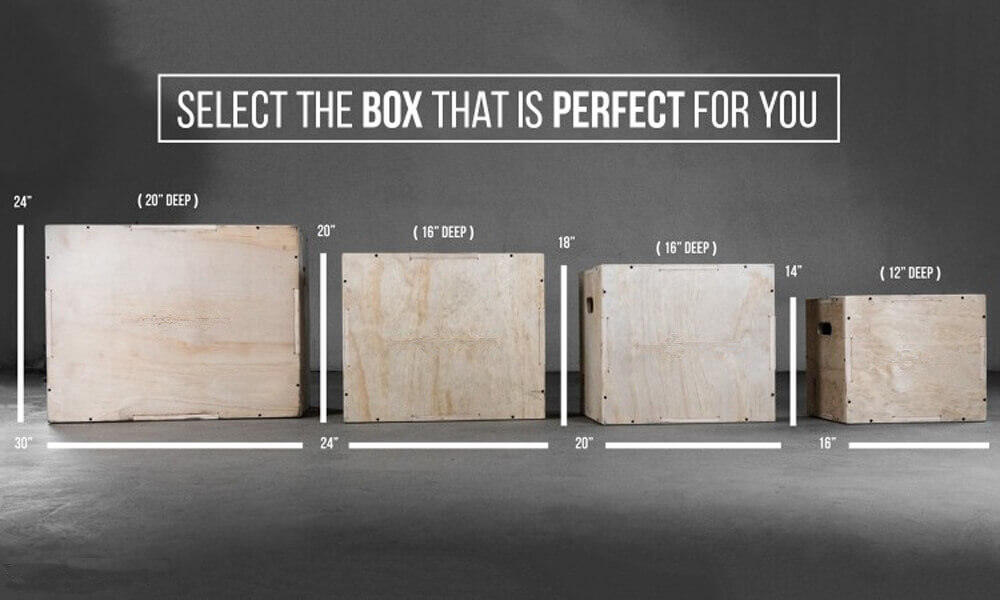
How to Construct a Plyo Box: 20" x24" x30".
Products:.
4 × 8 sheet of 3/4" plywood.
1 5/8" or 2" drywall screws.
Tools:.
Circular saw with plywood blade (has great deals of teeth, you can obtain a two pack of blades at Walmart for $6).
Drill/driver.
Jigsaw.
Reducing layout.
Cut 1.
20" from the end of the sheet draw a line. Making use of the circular saw, cut along the side of this line (towards the facility of the sheet) so you have an item that is 20" x 48". This is Cut 1.
Cut 2.
Down the facility of this piece, draw a line as well as reduce this line so you have two equivalent pieces each 20" x 24". This is Cut 2.
Cut 3.
Next off, working from the contrary edge of the continuing to be sheet, determine a line 28 1/2 "from the side, cut along the edge of this line so you have an item that is 28 1/2" x 48".
Cut 4.
This is Cut 3. Down the center, draw the line and also reduce this line so you have 2 equal items each 28 1/2" x 24". This is Cut 4.
Cut 5.
Next off, functioning from the cleanest/straightest side of the remaining sheet, gauge a line 28 1/2 "from the edge, cut along the edge of this line so you have an item that is 28 1/2 × 48. This is Cut 5.
Cuts 6 & 7.
Draw two lines, each 18 1/2 "from each side and cut inside each of these lines towards the facility of the sheet so you have 2 equal pieces each 18 1/2" x 28 1/2", plus a strip in between them 11" x 28 1/2. These are Cuts 6 and 7.
You will currently have five pieces that are:.
28 1/2" long, 2 of which are 24" large, 2 that are 18 1/2" wide, as well as one that is 11" wide. The very first 4 items create the body of the box, with the two 20" x24" pieces as end caps. The 11" x28 1/2" item is made use of as a cross support.
Have a look at the picture below of the box as screwed together:.

A couple of factors:.
The top of package aware is an 18 1/2" x 28 1/2" piece, however by surrounding it on all sides with 3/4" ply, the total measurement comes to be 20" x30".
Keep in mind where the measuring tape pushes the top, and also the line of drywall screws that follows it along the leading and partially down the side. This is where the brace encounter package.
You can plainly see just how the 20 × 24 item is an end cap, and also the 24 × 28 1/2 piece forms the side.
Final product:.
I highly recommend you cut handholds for bring. The box is a large 60 pound beast without them. I cut handholds for carrying by tracing the rundown of the holes on each of the 20 × 24 end caps as well as drilling out the corners of the summary and afterwards making use of a jigsaw to complete quiting. If I had it to do over I would have cut these out PRIOR TO constructing package, due to the fact that I ended up having to stick a shop vac hose right into the holes to tidy sawdust and chips from inside package.
I after that marked the three ideal landing areas with my name. For the top, I noted the face where the support is, and selected the lengthy edge with the best fit. If you look extremely thoroughly you can see that the opposite lengthy side of the top has an extremely slight lip. I selected the side with no lip. I did the very same on the 20 × 24 side, and the 24 × 30 side.
8 WORKOUTS YOU CAN DO WITHOUT A HEALTH CLUB (USING ONLY A PLYO BOX).
One of the important things I really attempt and worry on 12 Min Athlete is that you truly do not need much devices at all to get healthy.
We do a great deal of bodyweight-only based workouts here on the website and also in the app, and when I do include devices, I attempt and make it relatively simple as well as quickly obtainable-- no expensive equipments or overcomplicated tools here.
One of my preferred tools to make use of is as simple as it gets: a basic, wooden box.
A wood box (or it's rubber system equivalent) is an all over remarkable tool due to the fact that it's virtually indestructible, will last a lifetime, and also there's actually a countless quantity of methods to use it to boost toughness and also conditioning.
No access to a box? Don't stress, simply get imaginative-- a high bench of some type and even some stairs usually functions excellent as a substitute. Just ensure whatever you're using is actually durable (so, probably prevent wobbly chairs) specifically if you're jumping on it so you do not get harmed.
Here are 8 of my preferred workouts you can do using only a strong plyo box:.
STEP UPS.
Good for: Conditioning, leg strength.
Exactly how to do it: Enter front of a box or a tough elevated surface area. Step up onto package with one leg, then bring the various other leg up as you align both legs. Go back down and also repeat on the opposite side, and also repeat.
Feel free to add weight to this workout to raise the challenge-- a sandbag, kettlebell, or dumbbells are all wonderful choices.
LATERAL STEP OVERS.
Helpful for: Conditioning, control, leg toughness.
Just how to do it: Stand sideways of a box or raised surface such as a bench. Step onto the box with one leg, after that bring the various other boost so that you're basing on top of package. Step down with one leg, then bring the other leg to the ground. Proceed going the various other instructions, quickening as you obtain more comfortable with the movement.
Once again, you can add weight if you want to up the problem. Or just try and go really fast!
BURPEE STEP OVERS.
Good for: Conditioning, leg strength.
How to do it: Stand to the side of a box or raised surface area such as a bench. Do a burpee, then step onto the box with here one leg, after that bring the various other upper hand to ensure that you're basing on top of the box. Step down with one leg, after that bring the various other leg to the ground as well as promptly do one more burpee. Continue going the various other instructions, accelerating so you go as fast as you can.
RAISED RISE.
Great for: Arm, chest, and also core stamina.
How to do it: Beginning in a plank setting with your feet on a box or elevated surface area with your hands on the floor before you. Lower down into a rise so that your chest obtains close to the flooring, then push back up and also repeat.
ELEVATED KNEE TOUCHES.
Helpful for: Arm as well as core toughness.
Exactly how to do it: Beginning in a plank setting with your feet on a box or raised surface with your hands on the flooring in front of you. Tighten your core and also push with your shoulders, after that bring one knee towards your joint on the same side. Return your leg towards the beginning position as well as repeat beyond.
BOX JUMPS.
Great for: Conditioning, leg toughness.
How to do it: Stand in front of a box or strong elevated surface. Jump up onto the box, touchdown with both feet ahead. Jump back down from the box, then immediately jump back up.
BURPEE BOX JUMPS.
Great for: Conditioning, leg, arm, and also core strength.
How to do it: Standing in front of a box, enter into a squat setting with your hands on the floor in front of you. Kick your feet back into a rise setting as well as reduced body to the flooring. Return your feet back to the squat setting as quick as feasible, after that quickly stand and also raise onto package. Jump back down and repeat.
BULGARIAN SPLIT SQUATS.
Good for: Leg strength.
How to do it: Stand in a split position with your leg boosted on a box, bench, or raised surface. Keep your front foot level on the ground and also reduced your body up until your knee is close to the ground, then reduced back up and also repeat. Make certain as well as switch sides.